Somewhere beneath a pile of sand, a dinosaur has waited millions of years for the right explorer to arrive. That explorer is four feet tall, holds a spoon like a mighty tool, and will not stop digging.
Digging is one of the oldest and deepest joys of childhood, and almost no child can resist a hidden treasure. Now picture that joy combined with real discovery, careful brushing, and the thrill of naming an ancient creature yourself.
A dinosaur dig turns a simple tray of sand into a mystery that children solve with their own hands. It needs sand, a few toy fossils, and a spoon, and you can prepare everything in twenty minutes. The result is a calm, focused activity that can keep one child busy for an entire afternoon.
More activities that need no screen appear in 17 Screen-Free Activities for Kids Who Are Bored at Home. This guide shows you how to choose the sand, hide the fossils, and guide the excavation step by step. You will also learn how to keep the sand where it belongs, which is a worry for many parents.
Everything here is written in plain language, so you can follow along even with a toddler on your hip. Many families discover that this single tray becomes the most requested activity of the entire year. Grab a spoon, and let us start digging into the details of this exciting discovery today.
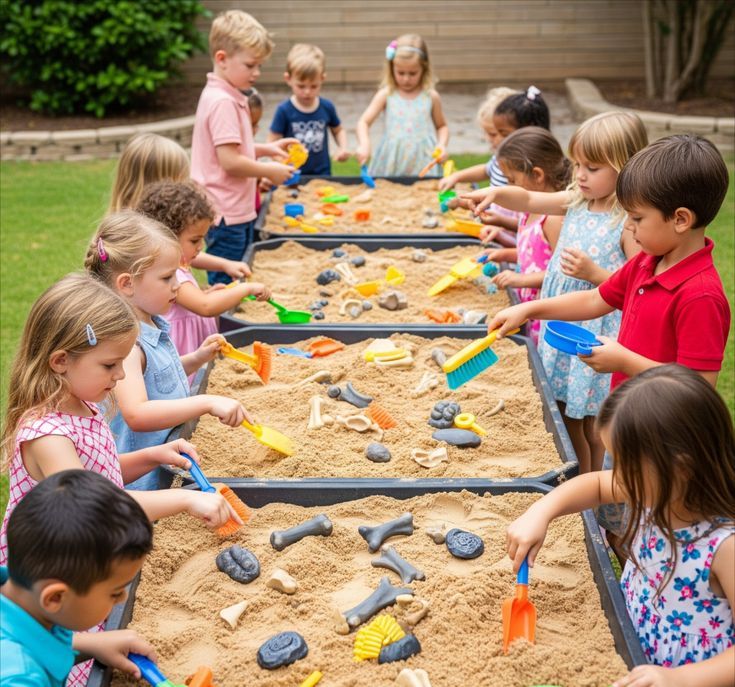
How to Create a Dinosaur Dig Activity Using Sand and Toy Fossils
Why Digging Is Such Powerful Play
Digging looks simple, but it combines movement, focus, and curiosity in a way few activities can match. Sand gives children rich sensory feedback, because it is cool, grainy, soft, and endlessly interesting to touch.
Brushing and scooping build the small hand muscles that children later need for writing and drawing. Searching for hidden objects also trains attention, because children must look carefully and move slowly.
Sensory fans can add splashing fun with 27 Easy Water Play Activities for Toddlers afterward.
The story side of the game matters too, because every find becomes part of a prehistoric mystery. Dinosaurs fascinate nearly every child, so motivation is rarely a problem during this kind of activity.
Children who normally rush through tasks often slow down and concentrate when a fossil might appear. The activity also works alone or with friends, and it scales easily from one child to six.
Parents appreciate the calm that follows, since focused digging often replaces arguments, restlessness, and constant requests for snacks. Even a short ten-minute dig leaves children calmer, prouder, and more ready for the next task.
Many parents are surprised by how long a simple tray of sand can hold a restless child’s attention. With these benefits in mind, you can see why this simple game deserves a place in your routine.

Choose the Right Container and Location
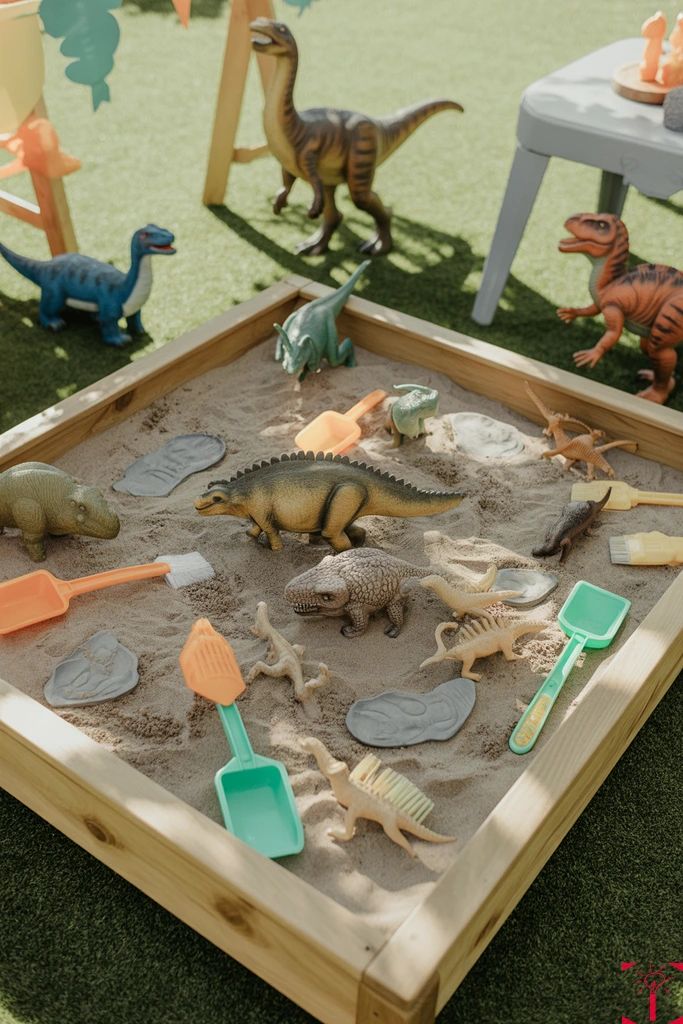
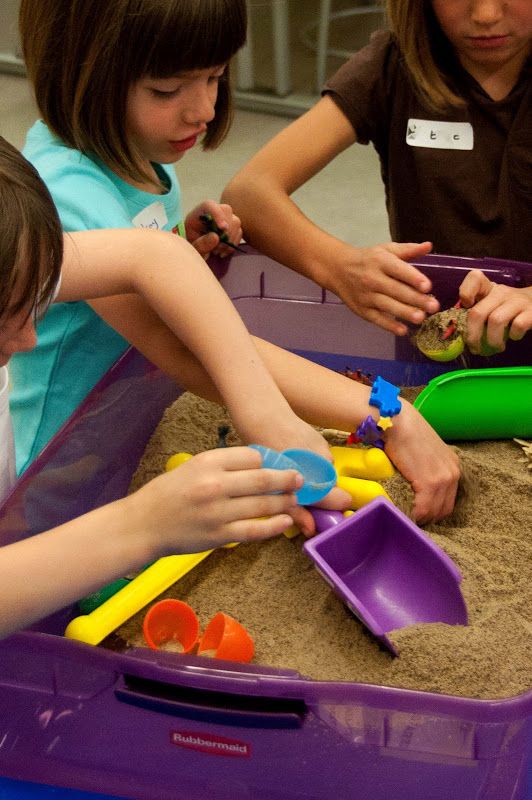
Start by choosing a container, because the right size makes the whole activity easier to manage. A large plastic storage bin with low sides works well for one or two children.
A clean sandbox, a baby bath, or even a deep baking tray can also do the job.
Garden digs pair well with 33 Backyard Activities for Kids Who Love Exploring on sunny days.
Outdoors, a shady corner of the garden keeps sand cooler and protects small skin from the sun. Indoors, place the bin on an old bedsheet or a shower curtain to catch every wandering grain.
A kitchen floor or a tiled corner is easier to clean than a carpeted living room. Choose a container deep enough to hide objects, usually about six inches of sand across the whole bin.
A wide container lets several children dig at once without bumping elbows or quarreling over space. Cover the bin with a lid or a sheet when the activity ends, so pets and neighborhood cats stay out.
Test the container once with plain sand, because it shows you where spills are likely to happen. A good location sets the mood, so spend a few minutes choosing the right spot.
Pick the Best Sand for the Dig
Not all sand behaves the same way, so choose a type that suits your space and your child. Clean play sand from a garden or toy shop is the safest and most reliable choice.
Avoid builder’s sand or beach sand with sharp shells, because small fingers can easily get scratched.
On wet days, move the dig inside using 31 Rainy Day Activities for Kids That Need Almost No Preparation.
Slightly damp sand holds its shape, which makes tunnels and buried layers feel more realistic. Dry sand is easier to sweep and brush, so it suits indoor digs and younger children.
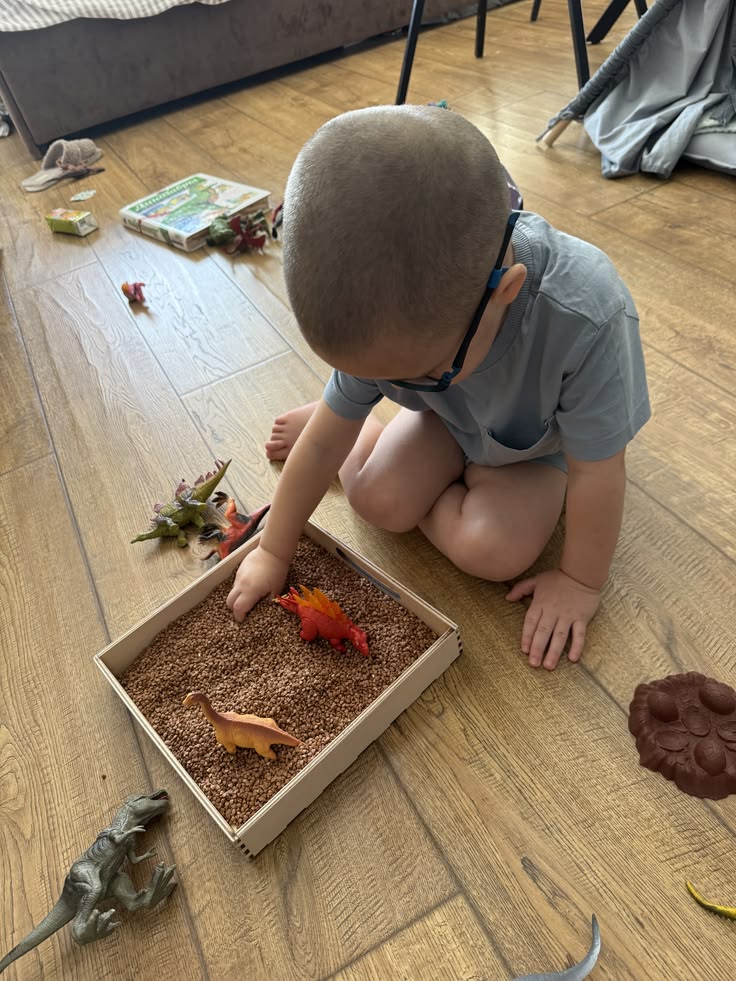
Mix a little water into dry sand with a spray bottle, and stir until it just clumps. If you have no sand, use dry rice, lentils, or oats as a cheaper indoor alternative.
Kinetic sand feels magical, but it costs more and sticks to everything, so use it sparingly. Buy about ten pounds of play sand for a medium bin, and keep any extra in a lidded bucket.
Let your child feel the sand first, because textures matter more than parents often realize. Store the sand dry between games, because wet sand left in a bin can grow mold quickly.
Gather Toy Fossils and Dinosaur Bones
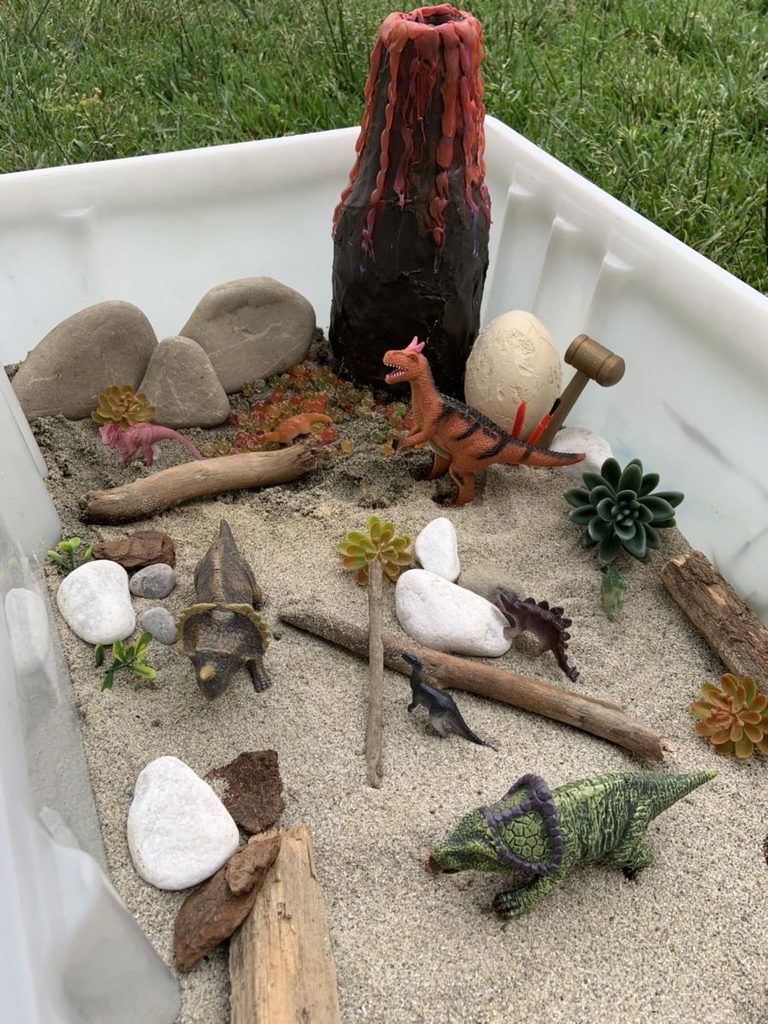
The fossils are the stars of this activity, and you have many easy options to choose from. Small plastic dinosaurs are the simplest choice, and most children already own a few at home.
Plastic skeleton sets and bone-shaped toys from party shops make the dig feel more scientific. Shells, smooth stones, and old keys can add variety, because real objects feel like ancient treasure.
Real shells and stones can come from How to Plan a Nature Scavenger Hunt for Preschoolers.
Aim for about eight to twelve objects, which is enough to keep interest without overwhelming the tray. Sort them into three groups, such as bones, whole dinosaurs, and mystery objects, before you hide them.
Check every object for sharp edges, loose parts, and anything small enough for a toddler to swallow. Let your child choose a few favorite dinosaurs, because ownership makes the discovery feel more personal.
Rinse each object quickly in warm water first, so the dig begins with clean treasure. Wrap a few fossils in tissue paper, and unwrapping them later adds an extra layer of surprise.
A small collection chosen with care often delights children far more than a large random pile.
Bury the Treasures Layer by Layer
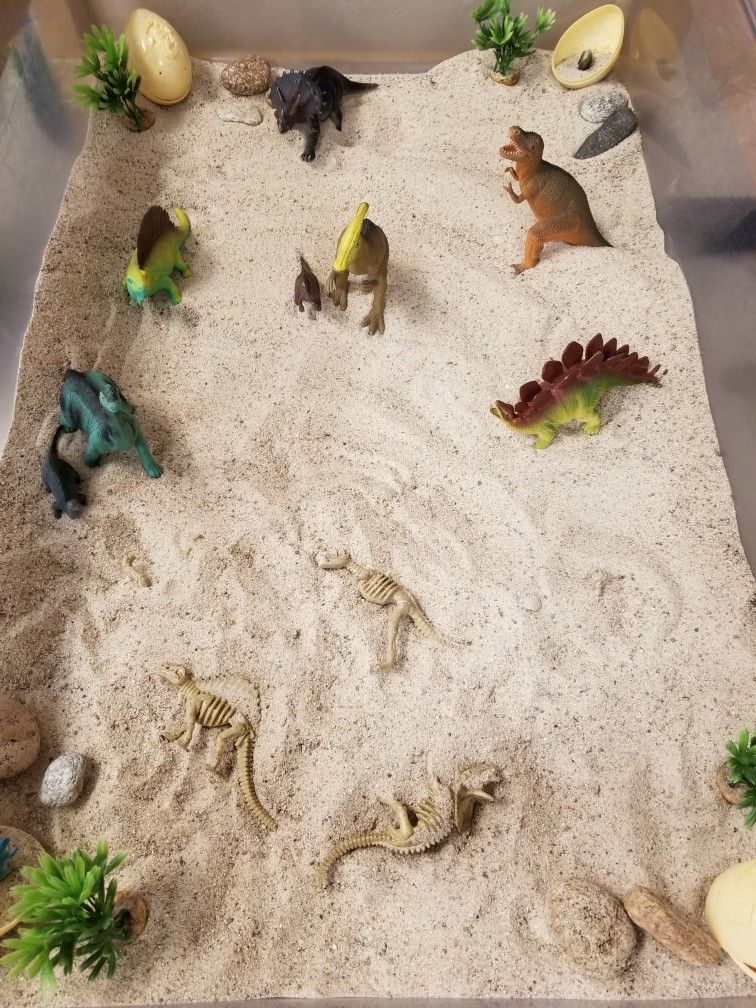
How you hide the fossils decides how exciting the dig feels, so take a moment to plan. Spread a thin layer of sand across the bottom, and place a few bones on top.
Cover them with more sand, then add another layer of objects, and repeat until the bin is full. Real paleontologists find fossils at different depths, so layers make the game feel more authentic.
Add an X-marks-the-spot map using How to Make a Home Treasure Map for a Children’s Adventure.
Place the biggest skeleton pieces at one end, so children can assemble a whole creature later. Hide a few easy finds near the surface, because early success keeps young diggers motivated.
Bury one special treasure, such as a shiny stone, at the very bottom for the final prize. Let children watch you bury a few items, which builds anticipation and teaches how sites are formed.
Alternatively, hide everything in secret before the dig begins, and surprise them with each discovery. Pat the sand lightly between layers, so the objects stay in place while children dig.
Smooth the surface flat at the end, so the tray looks untouched and ready for the first brush stroke. Keep a list of what you buried, so you can confirm that every piece was found.

Build a Real Paleontologist Tool Kit
Real scientists use special tools, and your young explorers will love having proper equipment too. A soft paintbrush is the most important tool, because it removes sand without moving the fossil.
Add a spoon, a small trowel, and a plastic cup for scooping and sorting the sand. Safety goggles or sunglasses make children feel like real scientists, and they protect eyes from flying sand.
Store the tools neatly with ideas from How to Make a Kids’ Boredom Basket That Encourages Independent Play.
A magnifying glass lets children inspect each find closely, and it adds a serious scientific feeling. Provide a notebook and a pencil, so children can draw and label every fossil they discover.
A small tray or egg carton keeps the finds organized while the dig continues nearby. Give each child a paper badge that says Junior Paleontologist, and the transformation is complete.
Avoid sharp tools like metal forks or knives, because plastic and wood are safer for little hands. Ask children to wash their tools after the dig, just like real scientists clean their equipment.
Most of these items are already in your kitchen or craft drawer, so the cost stays close to zero.

Set Up the Dig Site Like a Real Excavation
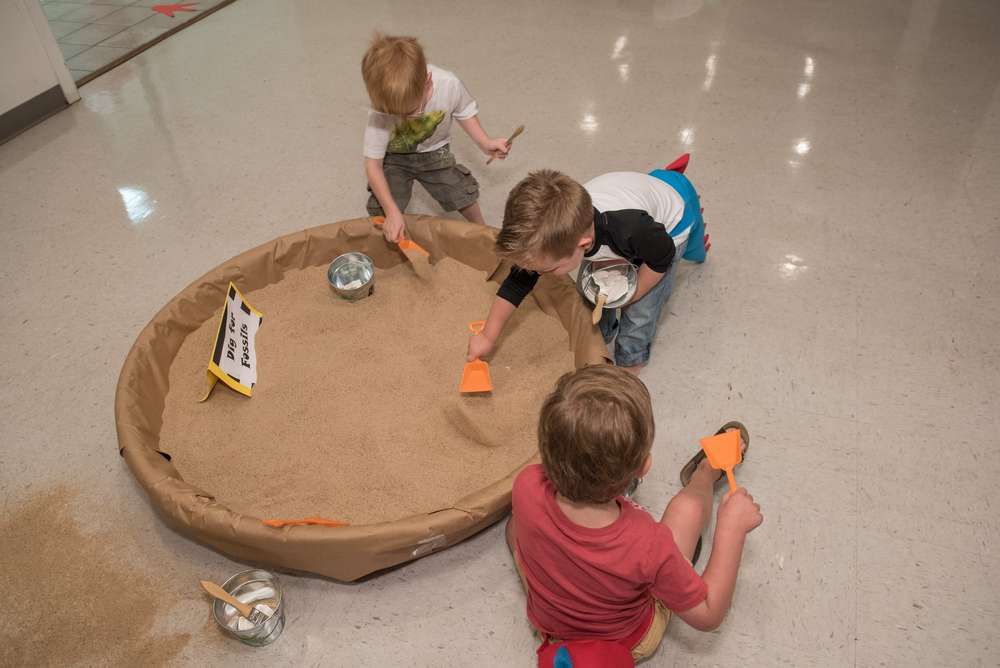
A real excavation has rules, roles, and a plan, and children love copying this serious approach. Mark the dig site with tape or string, and place a sign that says Dig Site Number One.
Explain the first rule, which is that every fossil must be brushed gently before it is lifted. Assign roles when several children play, such as digger, brusher, recorder, and sorter, and rotate them often.
Mining fans might also enjoy How to Build a Minecraft-Inspired Obstacle Course in Your Living Room.
Set a rule that sand stays inside the bin, and remind children gently whenever it escapes. Use a small hand brush and pan nearby, so children can sweep spills immediately themselves.
Ask the recorder to draw each find in the notebook before it goes into the collection tray. This habit teaches careful observation, and it gives quieter children an important and respected job.
Announce a lunch break for scientists, so everyone washes hands and rests before the next dig. Wear old clothes and aprons, because serious excavation work always leaves a little dust behind.
Structure like this makes the game feel serious, and children usually rise to meet the expectations.

Turn Finds Into a Dinosaur Naming Game
Naming each discovery adds a layer of imagination, and it turns every find into a small story. Ask your child what each dinosaur is called, and accept any answer, real or invented.
Children enjoy inventing names like Spikyfoot or Tinytail, and the silliness keeps the mood light. Introduce a few real names, such as Triceratops, Stegosaurus, and Tyrannosaurus, and repeat them often.
Collectors can compare this game with How to Plan a Pokémon Treasure Hunt for Kids for extra ideas.
Ask questions like what does this one eat, and how big do you think it was. Measure a toy dinosaur with a ruler, and compare it with a real object in the room.
Create a fossil fact card for each favorite dinosaur, with its name, color, and favorite food. Older children can look up facts in a book, which builds early research skills and confidence.
Younger children can simply roar, stomp, and match each dinosaur to its picture in a book. Give a gold star to the best dinosaur name, and children will compete happily for it.
Celebrate every discovery with a short roar, because enthusiasm from you makes children even more eager. Learning feels natural when it comes with laughter, and children rarely realize how much they absorb.
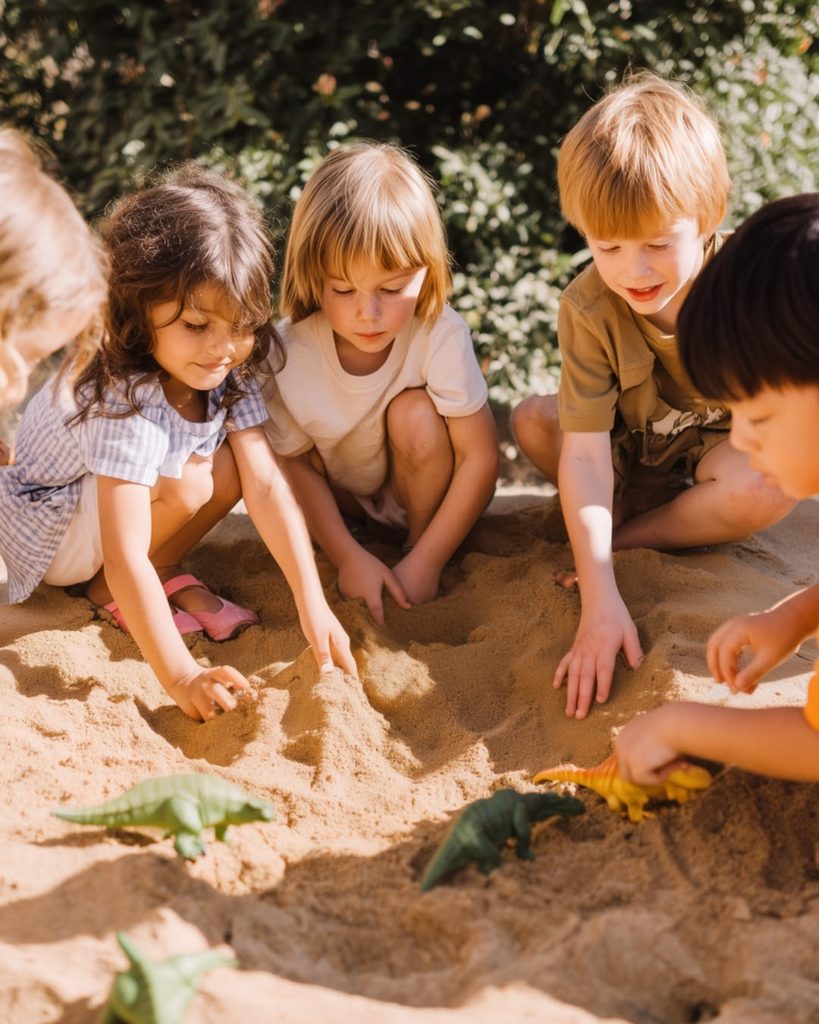
Add Games and Challenges to the Dig
Once the basic dig is familiar, a few extra challenges can keep the excitement alive. Try a timed dig, where children find as many fossils as possible in five minutes.
Use a kitchen timer, and the ticking adds a thrilling sense of a scientific race. Another idea is a mystery dig, where children must identify an object by touch alone.
Between digs, burn extra energy with 17 Indoor Games for Kids That Help Them Burn Off Energy.
Place objects inside a cloth bag, and let children guess each one by touch alone. A puzzle dig works nicely too, with skeleton pieces that children must assemble on a tray.
Draw an outline of a dinosaur on paper, and ask children to match each bone to it. For cooperation, ask a team to find ten fossils together before the timer runs out.
Praise careful brushing more than speed, because gentle hands are the real skill of a scientist. Keep the challenges optional, because some children prefer slow digging to any kind of speedy competition.
End each session with one final surprise, such as a golden egg hidden in the deepest corner. Rotate the games across several days, and the same tray can stay fresh for weeks.
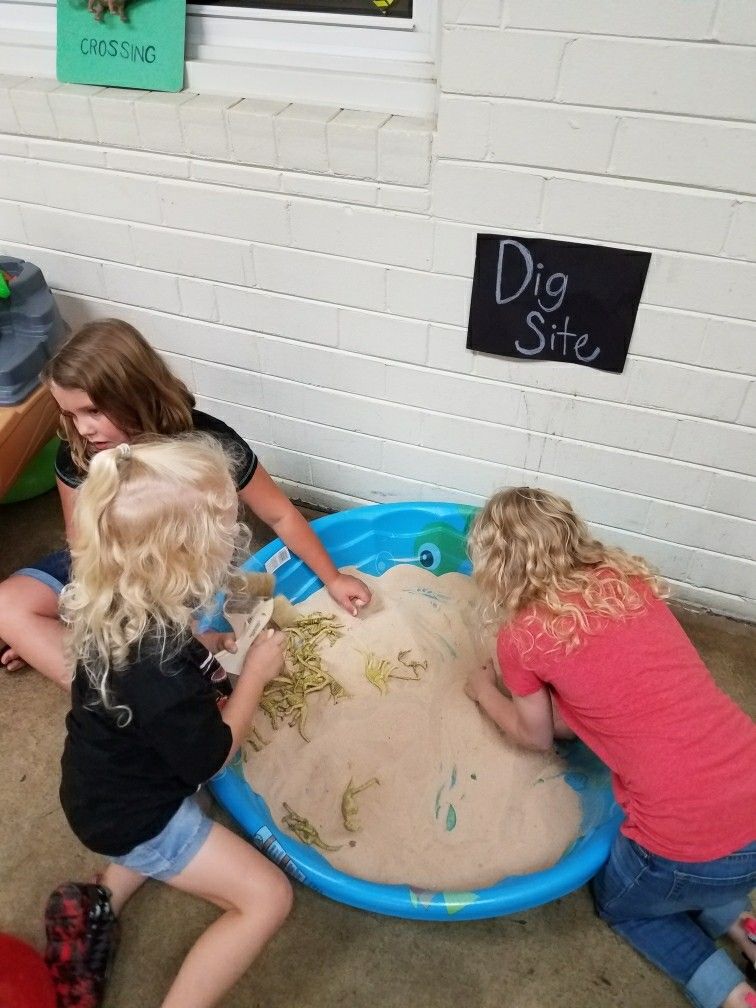
Adapt the Dig for Different Ages
A dig that delights a seven-year-old may frustrate a toddler, so adjust the setup carefully. Toddlers need shallow sand, large toys, and an adult who stays close and watches every move.
Skip tiny objects completely for children under three, because anything small can become a choking hazard.
For gentle moments, see 35 Quiet Activities for Kids When You Need a Calm Afternoon.
Preschoolers enjoy scooping, pouring, and finding obvious toys, and they love hearing roars after each discovery. Children aged five to eight enjoy layers, tools, notebooks, and the challenge of assembling a skeleton.
Older children can add research, scale drawings, and fossil fact cards to make the project richer. Mixed groups can work well when older children act as expert advisors for younger ones.
Children who dislike the feel of sand can wear thin gloves or use more tools. Respect their comfort, and never force a child to touch a texture that feels unpleasant.
Watch each child’s face, because a puzzled look is usually your signal to simplify the task. A well-matched dig gives every child a taste of success, and that feeling matters most.
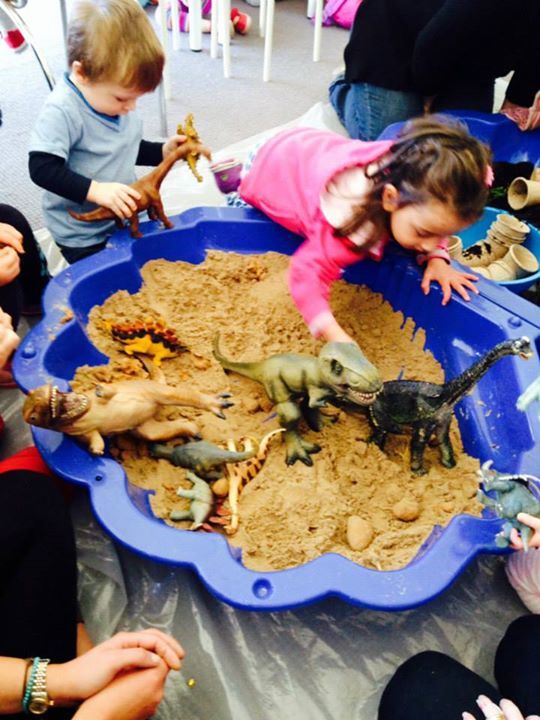
Host a Dinosaur Dig Birthday Party
A dinosaur dig makes a wonderful party activity, because every guest can join in immediately. Fill several shallow tubs, so guests can dig in small groups without crowding each other.
Hide one treasure per child, plus a few extras, and every guest will leave with a prize.
A themed party can borrow clue ideas from How to Create a Bluey-Inspired Scavenger Hunt at Home.
Send invitations shaped like footprints, and ask guests to wear khaki or green explorer clothes. Give each guest a brush, a cup, and a paper badge before the dig begins.
Have two adult helpers nearby, because excited children can spill sand and argue about toys quickly. Serve snacks after the dig, so sandy hands are washed well before anyone starts eating.
Hand out certificates naming each child a Junior Paleontologist, and let them sign their own. Keep the party under two hours, because small explorers get tired and sandy very quickly.
Plan the dig stations before guests arrive, and the party will flow without awkward waiting. Photos of dusty, delighted faces make the best birthday memories that any parent could ask for.
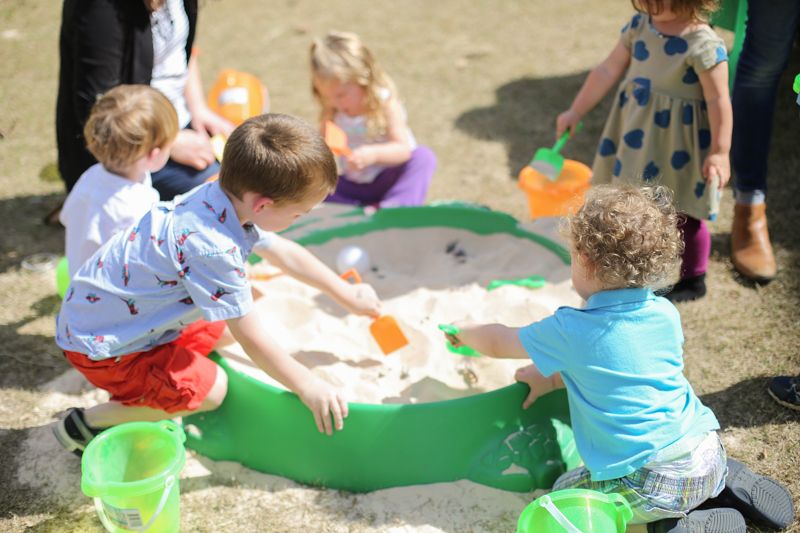
Keep Sand Under Control and Everyone Safe
Sand is wonderful for play, but it travels everywhere, so a few simple habits help a lot. Always place the bin on a sheet, and shake the sheet outside when playtime ends.
Ask children to remove shoes and socks, because sandy shoes spread grains through the whole house.
Cleanup becomes easier with ideas from How to Turn Household Chores Into Fun Games for Children.
Teach children never to throw sand, since grains in the eyes cause pain and tears. If sand does get into an eye, rinse it gently with clean water and seek help if pain continues.
Never allow children to eat sand or put toys from the dig into their mouths. Wash hands thoroughly after the activity, because sand can carry dirt, germs, and tiny sharp pieces.
Cover outdoor sand when it is not in use, so animals cannot leave surprises behind. Supervise closely at all times, especially around babies and toddlers who explore with their mouths.
Keep a damp cloth nearby for quick hand wiping, which helps younger children transition to the next activity. With these habits in place, the mess stays manageable and the fun stays safe for everyone.
Connect the Dig to Learning at Home
A dinosaur dig opens many doors to learning, and none of them feels like schoolwork to children. Borrow a dinosaur picture book from the library, and read it before or after the dig.
Talk about how fossils form, using simple words such as buried, pressed, and turned to stone. Visit a local museum if one is nearby, because seeing real bones makes the game feel real.
Campfire storytelling fits well with How to Create an Indoor Camping Adventure for Children at night.
Count the fossils in math terms, asking how many bones there are in total and how many remain. Sort the finds by size, from smallest to largest, and children practice ordering without noticing.
Draw a timeline on a long paper strip, and add dinosaur pictures in the order they lived. Older children may enjoy learning how scientists estimate the age of fossils using layers of rock.
Keep conversations light and curious, and let your child lead with questions rather than lessons. Even a single new word, like fossil or excavate, is a small victory worth celebrating.
Display the timeline on the wall, and children will add new discoveries long after the dig ends. Curiosity that begins with a spoon and sand can grow into a lifelong love of science.
Finish With Fossil Snacks and Quiet Time
After a long dig, children are hungry and a little tired, so plan a gentle finish. Serve plain crackers or round biscuits and call them fossil cookies, and children will eat happily.
Pressing a small shell into soft dough leaves a pretty print that looks like a real fossil. Bake the dough shapes if you wish, and children will keep them as precious souvenirs.
End the day with a dinosaur film, using How to Organize a Kids’ Movie Night With Games and Activities.
Offer water and fruit while everyone rests, because digging and brushing are surprisingly tiring work. Let children arrange their finds on a shelf or tray, like a tiny museum display.
Ask each child to give a short tour of the museum to proud family members. Explaining their finds builds confidence, vocabulary, and pride, and it gives parents a lovely window into their thinking.
Dim the lights slightly, and play soft music so tired bodies can relax after the excitement. Keep the display for a few days, and children will return to it with fresh ideas.
Fruit slices cut into small pieces make a healthy and refreshing treat after such sandy work. A calm ending helps the whole experience settle into a happy and lasting family memory.

Clean Up and Avoid Common Mistakes
When the dig ends, declare that the excavation is complete, and begin a calm and orderly cleanup. Return every fossil to its box, and count them against your list to confirm nothing is missing.
Sift the sand through a colander if needed, so small objects do not remain hidden in the bin. Cover the container and store it in a cool, dry spot for the next expedition.
Now consider the common mistakes, so your first dig goes smoothly and your sand stays tidy. The first mistake is using too little sand, which makes it impossible to hide objects properly.
The second is hiding objects too deeply, which frustrates young children and ends the game quickly. The third is forgetting a sheet under the bin, which leads to sand in every corner.
The fourth is leaving small children alone with small objects, which is never safe or wise. Avoid all four, and your dinosaur dig will run smoothly from the first scoop to the last find.
Thank your little scientist for their careful work, and the whole ritual ends on a warm note. Write down what worked well, and the next dig will be even easier and better.
Final Thoughts: Let Your Little Explorer Dig Deep
Somewhere in your home, a patient dinosaur is still waiting under the sand for a curious explorer. You now know how to choose the container, hide the fossils, and guide every discovery with care.
You also know how to keep the sand tidy, the children safe, and the learning joyful. The whole activity costs very little, yet it gives children focus, wonder, and a real sense of achievement.
One day your child may forget the sand, but the thrill of that first big find will stay. Keep the fossils in a labeled box, and you can reopen the excavation whenever curiosity returns.
So fill a tub, hide a few treasures, and hand your little explorer a trusty spoon. The ancient mystery is ready, and the greatest discovery of the day is about to begin.
Leave a Reply