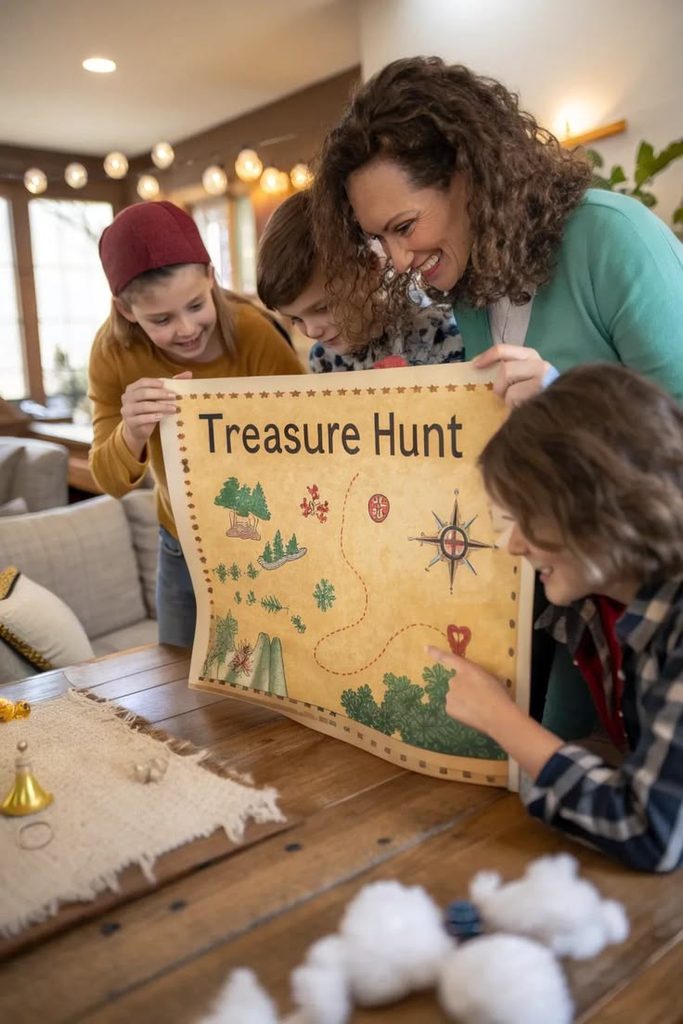
A torn brown map appears on the doormat, with a big red X drawn right where the sofa stands. Your child freezes, stares, and whispers one word that every treasure hunter has whispered for centuries, which is treasure.
A hand-drawn map can turn an ordinary house into an island, a jungle, or a pirate’s hidden kingdom. It costs almost nothing, takes about thirty minutes, and creates a memory that outlasts most toys.
This guide shows you how to design the map, age the paper, plan the route, and hide the treasure. Every step uses simple supplies, and children can help with almost all of it, from drawing to crumpling. The adventure suits toddlers with pictures and older children with riddles, so the whole family can join.
If you want even more screen-free play, see 17 Screen-Free Activities for Kids Who Are Bored at Home. Gather some paper, a few crayons, and a brave spirit, and let us draw the first line. Many parents are surprised by how long one map can keep a child busy and curious.
A good map teaches direction, patience, and imagination, and children rarely realize they are learning. The treasure itself may be small, but the journey to reach it is always grand.

How to Make a Home Treasure Map for a Children’s Adventure
Why Treasure Maps Capture Children’s Imagination
Treasure maps carry a special magic, because they promise adventure, mystery, and a reward at the end. Children understand a map instantly, even before they can read, because pictures tell the story.
A map also turns an ordinary place into somewhere unfamiliar, and the familiar house suddenly feels huge. Following a map builds spatial thinking, because children learn left, right, near, far, and the idea of a route.
Gloomy afternoons suit map making, especially with 31 Rainy Day Activities for Kids That Need Almost No Preparation nearby.
Drawing a map builds fine motor skills, creativity, and planning, which is plenty of learning for one page. Treasure hunts also teach patience, because the reward waits at the end of a careful and thoughtful search.
Reading clues strengthens early literacy, since children must decode words and pictures to find the next stop. Sharing the hunt builds teamwork, because friends and siblings must cooperate to follow the route together.
The activity gives parents a creative project, and many adults enjoy drawing the map as much as children. Best of all, the whole adventure needs nothing more than paper, pens, and a hidden prize.
Few activities offer so much wonder for so little effort, and children remember them for years.

Choose Your Map Theme
A theme gives the map a personality, so decide on a story before you pick up the pen. Pirate maps are the classic choice, with islands, skulls, ships, and a giant X marking the spot.
Jungle maps feature rivers, bridges, caves, and hidden temples, and children love imagining the animals nearby.
Hero themes appear in How to Create a Superhero Training Course for Kids for brave adventurers.
Space maps can show planets, comets, and a friendly alien base, with treasure hidden on a distant moon. Fairy maps include mushrooms, tiny bridges, and secret doors, and they suit younger children with gentle imaginations.
Dragon maps add caves, castles, and mountains, and older children enjoy the dramatic tone of the story. Let your child choose the theme, because enthusiasm for the story fuels everything else in the project.
Mix themes if you wish, such as a pirate dragon or a space jungle, because imagination has no rules. Name the adventure, such as The Lost Crown of Captain Whiskers, and write the title across the top.
Invent a short backstory, like a pirate who forgot where he buried his lunch and left a map. A good theme makes every later step easier, because the story guides each drawing and each clue.
Gather Simple Map-Making Supplies
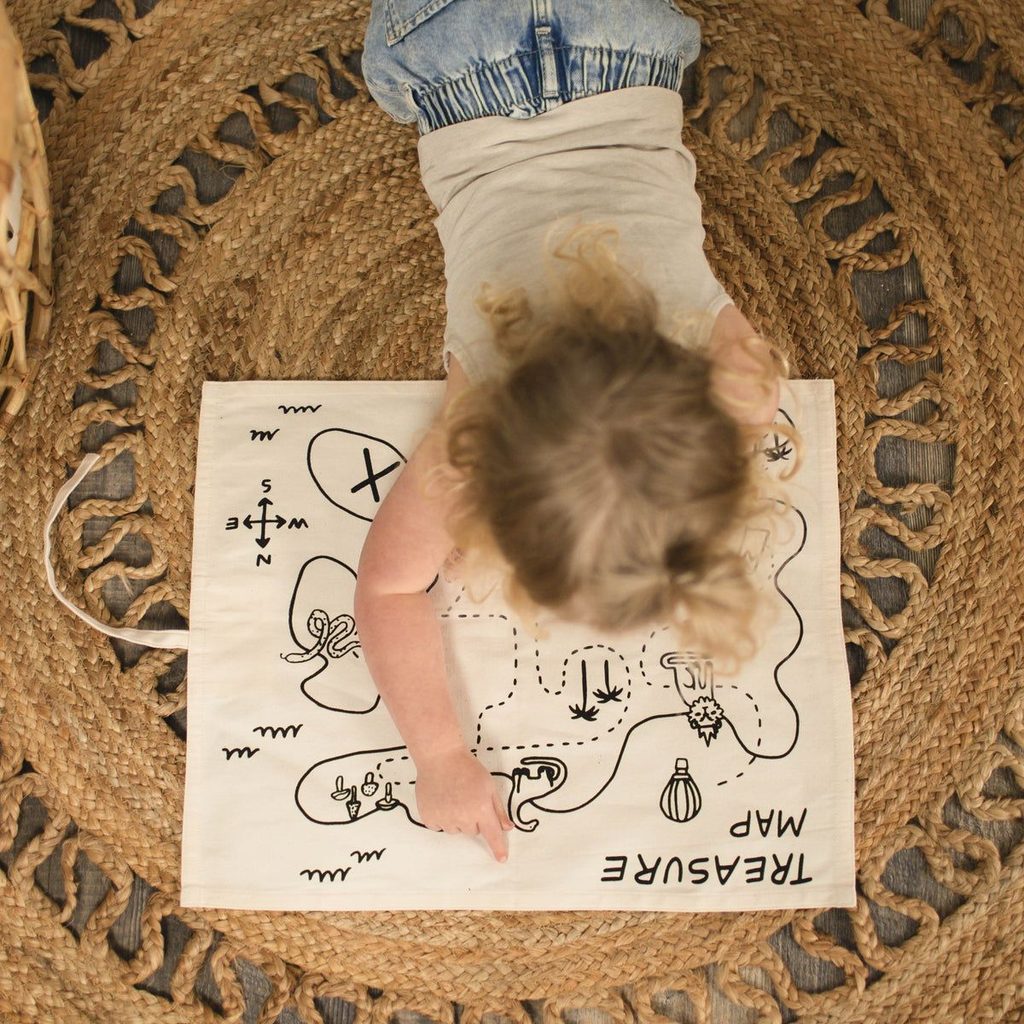
You need very little to make a proper map, and most supplies are already in a drawer at home. Collect a large sheet of paper, pencils, crayons, markers, and a ruler for straight paths.
Brown paper bags and plain wrapping paper make wonderful antique-looking maps and cost almost nothing.
Keep the supplies together using How to Make a Kids’ Boredom Basket That Encourages Independent Play.
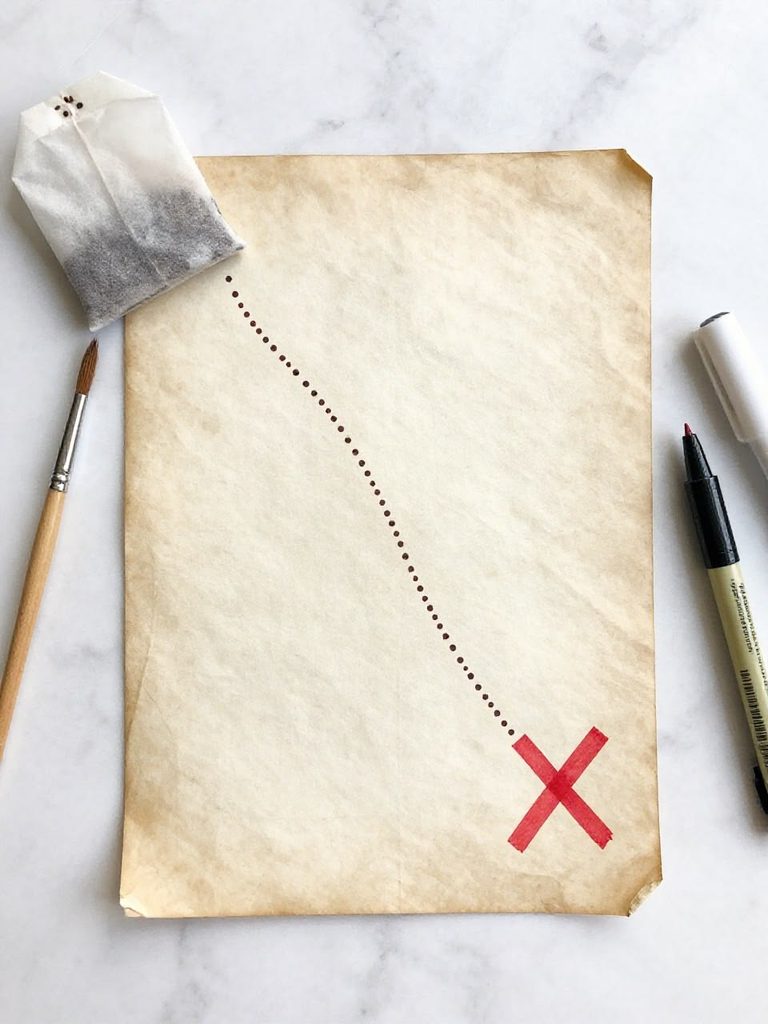
A used tea bag, a little cold coffee, and a sponge will help you stain the paper. Add gold and red markers, a few stickers, and some wax crayons for special touches.
Keep a pencil and an eraser nearby, because every mapmaker makes mistakes and changes plans. Gather small prizes, a treasure box, and a string or ribbon to tie the map as a scroll.
Press the paper flat under a book before drawing, because curled corners are hard to color. Use washable markers and cover the table with newspaper, because tea and ink can stain furniture.
Keep scissors and any hot water out of reach of toddlers, and supervise every step closely. Let children choose their favorite colors, because a map that looks beautiful feels worth following.
A tidy basket of supplies makes it easy to start mapping whenever sudden inspiration arrives.
Draw the Map Step by Step
Drawing the map is the heart of the project, and a simple method makes it easy for everyone. Start with a pencil sketch of the area, such as a house plan or a garden outline.
Draw each room as a simple box, and label the rooms with fun names like Dragon Den.
A woodland version appears in How to Plan a Winnie-the-Pooh-Inspired Story and Honey Hunt for gentle maps.
Add a dotted line for the route, with little footprints leading from one place to the next. Mark the start with a flag and the final treasure spot with a large red X.
Add decorations, such as sea monsters, palm trees, mountains, and clouds, in the empty corners. Draw a compass rose in a corner, with the letters N, S, E, and W.
Trace over the pencil lines with markers once you are happy, and then erase the pencil. Keep a small ruler handy for neat paths, though wobbly lines add plenty of natural charm.
Toddlers can scribble the decorations while older children draw the routes and write the labels. Work on the floor with a big sheet, because large maps feel more dramatic and easier to share.
A hand-drawn map does not need to be accurate, because charm matters far more than precision.
Age the Paper for an Antique Look
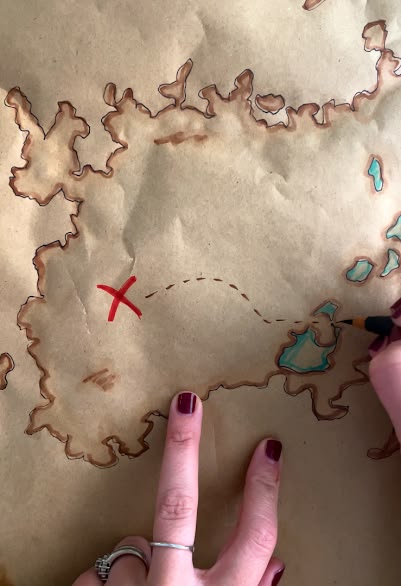
Old paper makes the map feel real, and aging it is one of the most enjoyable steps. Crumple the finished map into a ball, squeeze it gently, and then flatten it again slowly.
Dab the paper with a damp tea bag, and let the brown stains spread into pretty patches.
Quiet craft time fits beside 35 Quiet Activities for Kids When You Need a Calm Afternoon nicely.
Lay the paper flat on a tray to dry, and weigh the corners with books to prevent curling. Tear the edges gently by hand, which creates a rough, ancient look that scissors cannot match.
Never burn the edges, because fire is unsafe, and a damp tea bag gives a similar effect. Wait until the paper is fully dry before rolling it up, because wet paper tears easily.
Test the markers on a corner first, because some inks run or fade when they touch tea. Roll the dry map into a scroll, and tie it with string or ribbon for a dramatic delivery.
Children adore this step, because they get to be messy and creative at the same time. An aged map feels like a real discovery, and children often treat it with great respect.

Add Landmarks, Symbols, and a Compass
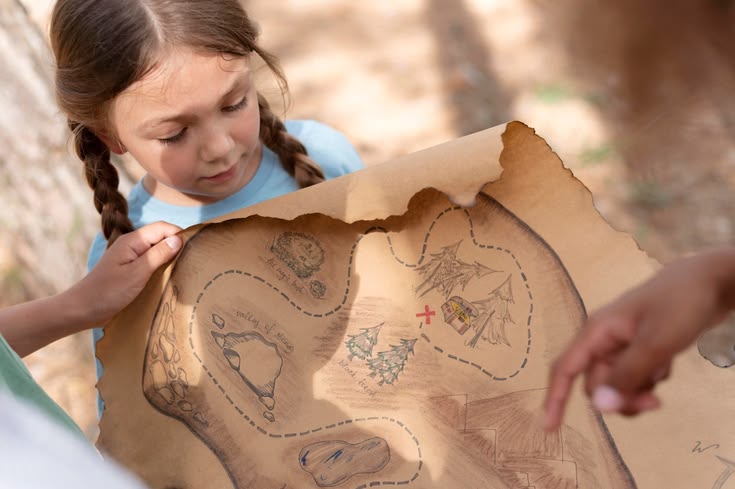
Landmarks give the map character, and they help children find their way from one stop to the next. Draw a tall tree for the big plant, a wavy line for the stairs, and a square for the sofa.
Use symbols for dangers, such as a skull for the laundry pile or a snake for the garden hose.
Builders will love the landmarks in How to Build a Minecraft-Inspired Obstacle Course in Your Living Room.
Add a legend in one corner, explaining each symbol in a short and simple line. Add a scale, such as ten steps equals one inch, and children will enjoy pretending to measure.
Draw a compass rose with north pointing toward the front door, and teach children what it means. Teach older children to use a real compass, and let them follow directions such as walk ten steps north.
Add danger zones, secret passages, and bonus spots, which make the map feel full of surprises. Keep symbols clear and large, because young children need bold shapes rather than tiny fine details.
Use the same color for each type of symbol, so children can learn the code quickly. Ask children to explain the symbols aloud, because teaching others strengthens their own understanding beautifully.
Symbols teach children that maps are a language, and learning the language makes exploring feel powerful.

Plan the Route Through Your Home
A good route moves children through the house in a smooth and exciting path with a few surprises. Walk through your home first, and choose six to eight stops that are safe and easy to reach.
Choose stops in different rooms, so the hunt feels like a real journey across the whole house.
Burn extra energy along the route with 17 Indoor Games for Kids That Help Them Burn Off Energy.
Avoid stairs, hot kitchens, bathrooms with wet floors, and any room where small children could get hurt. Place the stops in a loop, so the final treasure is close to where the hunt began.
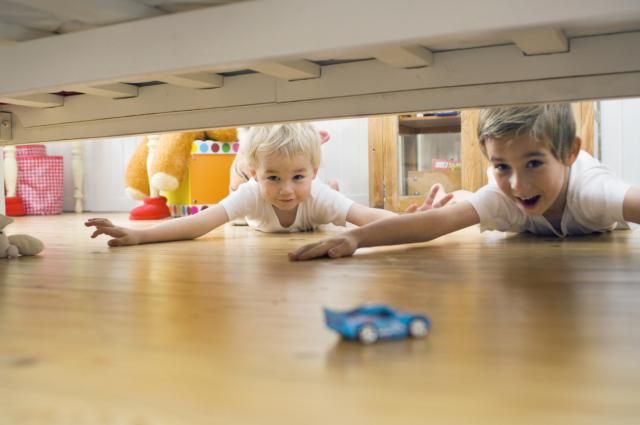
Mix easy stops with trickier ones, so every child feels successful and also a little challenged. Use a different hiding place at each stop, such as under a cushion, in a shoe, or inside a book.
Number each stop on the map, and write the same number on a small card at the hiding place. Walk the route yourself once, because you will spot blocked doors and awkward corners before the children do.
Keep the route short, around twenty minutes, so the excitement stays high until the final reveal. A thoughtful route turns a simple hunt into a smooth adventure that rewards curiosity at every step.

Write Clues and Riddles
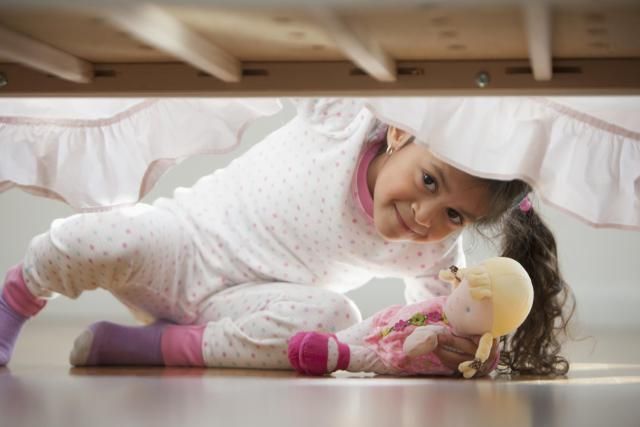
Clues turn a map into a puzzle, and good ones are short, playful, and matched to the child’s age. For toddlers, draw a picture of the next hiding place, such as a teddy bear or a bed.
For preschoolers, write simple rhymes, such as look where the cold things sleep, inside the kitchen cave.
Playful clue ideas appear in How to Create a Bluey-Inspired Scavenger Hunt at Home for inspiration.
For older children, write riddles, secret codes, or puzzles that require a little real thinking. Try a simple code, where each letter is replaced by a number, and give children a key.
Write each clue on small paper scrolls, and tie them with thread for a magical look. Add a funny voice when reading the clues aloud, because dramatic delivery doubles the excitement.
Test every clue on a friend, because a clue that confuses an adult will certainly confuse children. Give a small hint on the back of each clue, so helpers can nudge without giving the answer.
Hide one silly clue that makes no sense, and children will laugh when they discover the joke. Keep clues under twenty words, because long messages tire young readers and slow the whole adventure.
Clever clues make children feel brilliant, and that feeling is the real treasure of the hunt.
Choose and Hide the Treasure
The treasure is the final reward, and it should feel special without costing very much money. Fill a small box with chocolate coins, stickers, a toy, or a pencil with a pirate on it.
Wrap gold-colored paper around ordinary candies or paper discs, and the box instantly looks like treasure.
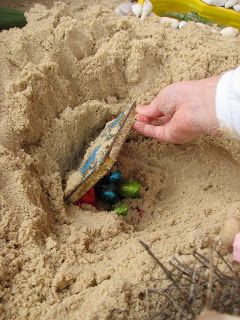
Buried treasure appears in How to Create a Dinosaur Dig Activity Using Sand and Toy Fossils for sandy digs.
Decorate the treasure box with paint, glitter glue, and a paper lock, and hide it with care. Hide the treasure somewhere safe and easy to reach, such as under a blanket or behind a chair.
Include one treasure for each child, so nobody feels left out when the box is finally opened. Choose treasures that suit the age of every child, and avoid small items for toddlers who might swallow them.
Check for food allergies before including any candy, and offer non-food prizes for children who cannot eat sweets. Add a letter inside the box, signed by the pirate, praising the brave children who found the treasure.
Wrap the box in newspaper first, and the unwrapping adds another exciting moment of surprise. Keep the final hiding place a secret until the last clue, and the suspense will be wonderful.
A well-chosen treasure turns the end of the hunt into a joyful celebration for everyone.
Take the Hunt Outdoors
A garden or park turns a treasure hunt into a true expedition, with trees, hills, and endless hiding places. Draw a new map of the outdoor space, with a pond, a path, a bench, and a big oak tree.
Use landmarks like fences, flower beds, and garden gates as stops along the outdoor route.
More garden ideas appear in 33 Backyard Activities for Kids Who Love Exploring for outdoor maps.
Hide clues in plastic bags or jars, so rain and dew cannot spoil the paper. Choose a dry day, and check the weather forecast before the hunt, so everyone stays comfortable.
Remove any dangers, such as sharp tools, deep water, broken glass, or poisonous plants, before starting. Stay with the children, and keep everyone within sight, especially near roads, ponds, and open gates.
Pack water bottles, hats, and sunscreen, because outdoor adventures can be hot and thirsty work. Use natural clues, such as find the tree with the rough bark or the stone shaped like a heart.
Collect leaves, stones, and feathers along the way, and add them to the treasure box afterward. Outdoor hunts give children space to run, and they come back tired, muddy, and wonderfully happy.

Add Special Challenges Along the Way
Challenges make the hunt more thrilling, and they give children physical tasks between the puzzles. At one stop, children must hop on one foot across the room to claim the next clue.
At another stop, they must balance a soft toy on a spoon for ten seconds before moving on.
Monster-catching missions appear in How to Plan a Pokémon Treasure Hunt for Kids for extra challenges.
Add a sea monster challenge, where children must tiptoe past a sleeping toy without waking it. Add a riddle gate, where the children must answer a question before the next clue appears.
Add a teamwork task, where two children carry a pillow together without dropping it on the floor. Keep challenges short, silly, and safe, because the goal is laughter rather than serious competition.
Remove any trip hazards before the hunt, and keep jumps low and landings soft for everyone. Let children invent their own challenges for the next hunt, because creating puzzles is equally fun.
Vary the challenges between thinking, moving, and teamwork, so every kind of child can shine. A good challenge makes the treasure feel earned, and children value what they have earned.
Make the Hunt Work for Different Ages
A hunt for a toddler and a hunt for a nine-year-old need very different maps. Toddlers need a short route, picture clues, big prizes, and a grown-up who walks beside them.
Keep toddler maps very simple, with only three or four stops and large, bold pictures.
Younger explorers will enjoy How to Plan a Nature Scavenger Hunt for Preschoolers as a simpler hunt.
Preschoolers enjoy rhymes, colors, and easy puzzles, and they love carrying their own map and a bag. School-age children enjoy codes, riddles, compass directions, and more complicated routes with several steps each.
Older children can design the entire hunt, hiding clues and treasure for their younger siblings. Mixed groups work best when older children read the clues and younger children search and carry.
Children with different abilities can join by using pictures, simple routes, or kind and helpful partners. Ask parents about special needs in advance, and adjust the difficulty so nobody feels left behind.
Watch faces during the first clues, and simplify or add hints if frustration begins to appear. A hunt that fits every child feels fair, and fairness keeps the adventure joyful for the whole group.
Host a Treasure Map Birthday Party
A treasure map is perfect for a birthday party, because every guest can follow the same adventure. Send invitations rolled like scrolls, with a small map showing the way to the party.
Ask guests to dress as pirates, explorers, or adventurers, and provide paper hats and eye patches.
Finish the party with How to Organize a Kids’ Movie Night With Games and Activities for a calm ending.
Divide guests into small teams of three or four, and give each team its own colored map. Let every team follow a different route that ends at the same treasure chest, to avoid crowding.
Have adult helpers at the stops, dressed as friendly pirates who give hints and guard the clues. Give every team an equal share of the treasure, so nobody loses and every child wins.
Serve pirate snacks, such as golden fish crackers, sea water juice, and gold coin cookies. Take a group photo with the treasure chest, and parents will treasure the picture later.
Keep the party to about ninety minutes, because excited guests tire quickly and parents prefer calm departures. Hand out small copies of the map as party favors, and children will treasure them for weeks.
A treasure hunt party needs little decoration, because the adventure itself is the main attraction.
Turn the Map Into a Campout Adventure
A treasure map becomes even more magical when the hunt happens at dusk or on a camping night. Give each child a flashlight, and the house transforms into a mysterious cave full of secrets.
Draw a campsite map showing the tent, the pretend fire, the river, and the hidden treasure.
Overnight maps fit How to Create an Indoor Camping Adventure for Children very naturally for bedtime.
Hide glow-in-the-dark clues or reflective stickers, so the path shimmers softly in the dim light. Keep the lights dim but not dark, because total darkness makes collisions and falls far more likely.
Never shine flashlights into anyone’s eyes, and teach children to point the beam at the floor. End the night with the treasure box beside the pretend campfire, and share the prizes together.
Read a bedtime story about pirates or explorers, and children drift to sleep dreaming of maps. Roll the maps into scrolls, and keep them by the tent for the morning after.
Keep one adult awake nearby, because some children feel nervous when a game moves into the dark. A night hunt turns an ordinary evening into a story that families retell for years.

Clean Up and Avoid Common Mistakes
When the treasure is found, gather the clues, the map, and the box, and keep them as souvenirs. Store the map in a cardboard tube or a large envelope, so it stays flat and safe.
Keep the clues in a small box, and children can reuse them for another hunt next week. Count the clues against your list, so you know that no hidden paper remains in the house.
Now consider the common mistakes, so your first treasure hunt runs smoothly from start to finish. The first mistake is making the clues too hard, which frustrates children and spoils the fun.
The second is hiding clues in unsafe places, such as high shelves, hot kitchens, or near stairs. The third is rushing the hunt, because children enjoy the journey as much as the treasure.
The fourth is forgetting to join in, because children love hunts most when a parent shares them. Avoid these four, and your treasure hunt will be organized, joyful, and wonderfully memorable for everyone.
Write down which clues worked best, and your next map will be even more exciting to follow.

Final Thoughts: X Marks the Spot
Remember the torn brown map on the doormat, with its big red X drawn where the sofa stands? You now know how to design the map, age the paper, plan the route, and hide the treasure.
You also know how to write clues, add challenges, and keep every child safe and included. None of it requires expensive props, only paper, a few crayons, and a parent who loves a good mystery.
Children will remember the thrill of following clues long after they forget what the treasure contained. So pick up a pencil, draw a big red X, and hide the first clue somewhere clever.
Somewhere in your house, the greatest adventure of the year is waiting to be discovered.
Leave a Reply